SkyStopper IR remote control functions
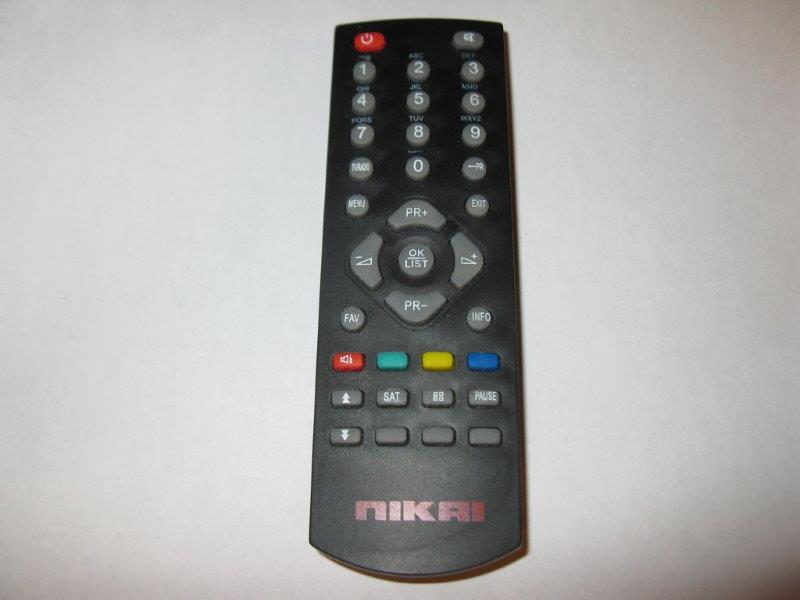
The remote control is not only used to control the SkyStopper, it can also be used to configure the controller for the particular dimensions of the SkyStopper it is controlling.
This section describes the function of the OK button on the remote, and the single button on the controller.
Under normal operation, you can use the OK button on the controller interchangeably with the small button on the control unit itself. The button on the controller is handy in case the remote is not handy, and all of the major functions of the SkyStopper are possible with just the button on the main controller, including programming the controller to accept signals from a different remote control.
Here is how the single button on the control unit works. Short medium and long presses do different things, depending on what operation is in progress at the time. A single tap of the button is a short press. Anything longer than 1 second is a medium press, and the action commences when the button is released. Holding the button for 4 seconds or more is a long press, and the action commences before you release the button.
When idle, a short press starts the tracking; a medium press centers the carriage; and a long press seeks the start position.
While tracking, a short press can be configured to allow rate adjustment; a medium press changes from sidereal to solar, lunar, of half-solar speed; and a long press rewinds to center position.
While rewinding to a position, a short press changes the destination in turn from center to start to end, to center. SkyStopper uses controlled acceleration and deceleration so no steps are lost. A medium press stops the rewind where it is, and a long press not only stops the rewind but returns the carriage to the position it was before the rewind commenced amd adds the right amount for the lost time.
While seeking the reference position, a short press on the button indicates 0 has been reached; a medium press cancels the seek and leaves the SkyStopper at a known position relative to where the rewind was initiated, and a long press cancels the reference seek and returns the SkyStopper to where it was, if possible.
This section describes the basic functions of the other buttons on the remote control.
Basic functions of the remote
emulate guide inputs
Use the volume down and volume up to slow or speed the RA tracking.
Use the PR+ and PR- buttons to move the telescope in the declination direction. This direction is set with the red button (speaker LR)
Operate the guide actuator motors individually The 4 buttons around the periphery of the navigation buttons operate the lateral motors (FAV and MENU) and the vertical motor (INFO and EXIT).
Seek to position . When the SkyStopper is not tracking, you can command it to go to any numerical step on any motor. Enter a number then press the appropriate direction code to go a relative distance specified by the number, in the direction you pressed. Enter a negative number to go to an absolute position specified by the number. Either direction button works the same in that case.
There's also the ability to single step the most recently commanded motor using the up and down arrow buttons. Same as entering 1 and then operating the slew guide buttons.
mute the speaker. The SkyStopper has 6 levels of mute, each one muting more functions.
Mute level 0 is the default and all sounds are enabled.
Mute level 1 eliminates the ticking sound when a button is held.
Mute level 2 eliminates the beeping sound when a button is first pressed.
Mute level 3 eliminates the beeping sound for basic functions.
Mute level 4 eliminates the beeping sound when travel limit is reached.
Mute level 5 eliminates all sounds except the error sound.
Adjust the tracking rate
Pressing the green button while tracking causes the decimal point to start flashing, and records the net effect of all guide operations commanded. When the green button is pressed again, the flashing stops, and the SkyStopper begins to track at a new rate based on the effects of the guide operations. Effectively, the guiding is now being done uniformly. This process can be repeated and will add or subtract guide operations as needed, up to the saturation limit of the guiding which is about 25 percent sidereal.
Green button learning is useful for a lazy way of correcting for polar misalignment without moving the platform, but it has to be repeated for each target direction.
The moon's apparent rate relative to the stars varies by a lot compared to the average: plus and minus 12 percent during a monthly orbit. When SkyStopper is running in Lunar speed mode, the RA effect of the green button tuning is used to precisely adjust the tracking rate of every step, to accommodate the moon.
Show status
The blue button pressed once will cause the display to indicate the amount of RA guiding which was done, in units of arcseconds per 240 seconds of time. You can interpret this as polar misalignment in arc minutes, if you were adjusting based on a star near the meridian. Near the meridian, the tracking adjustments for polar misalignment are all azimuth. To achieve polar alignment in altitude, a star near the horizon due east or west should be used. The lateral actuator then indicates the amount of altitude misalignment of the polar axis. The SkyStopper is unique in having the ability to precisely effect and measure this lateral rotation. Pressing and holding the blue button for a long time cancels the gradual guiding programmed by the green button. Pressing the up and down arrow buttons while showing status causes the current item to step to the next or previous item, and to circulate continuously. Pressing blue again cancels the circulation and stops the status display.
Undo a seek. Pressing the yellow button will undo a seek center or seek start (or seek end) which is in progress, and will cause the RA to go back to its original position, and then add some more for the time elapsed. If the seek is already completed, the yellow button will cause the RA axis to slew back to where it was before, allowing for the lost time, if possible. (it will not slew beyond the end of travel)
Adjust the declination guide direction. The red button shows the new declination ratio on the display, and increments it by 10 when pressed more than once in a row. Entering in a number then pressing red will set the declination ratio directly.
Numerical entry is via the keys 0-9. The TVRADIO button changes the sign of the number, and the <-PR button enters the parameter into a stack of 4 parameters, for subsequent use by the advanced function.
This section describes the advanced functions of the other buttons on the remote control.
Advanced functions
Re-programming the controller to accommodate adjustments to the mechanism